Day 4 in my Halloween Series is a kind of leather face, stapled skin look. I actually got the inspiration for this look online. I found a stock image of a girl who made it look like she had different patches of skin stapled to her arm. Hers was more gory, so I wanted to make mine more cartoonish, easier for anyone with even the smallest amount of skill for achieve for Halloween.

Let's start!
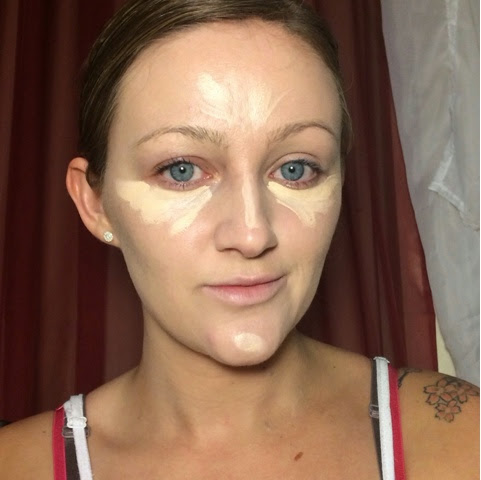
First I applied my makeup as usual. I went for something kind of pretty.

Now start by marking where you want your staples on your face by drawing on small lines with gel liner. Try to visualize the different patches of skin and the placement of how it will all fit together.

Next, lightly map out the pieces of "skin" with the same gel liner. Make a curved line around the areas of the "staples." This will help give the effect that the skin is being pulled by the staples.

Start shading to one side of the lines you just drew with a matte brown eyeshadow. This will give a shadow effect, making it look like different pieces of skin are lying on top of one another.

Blend out the shading with a lighter shade of brown to soften the lines.

Add a little bit of black to the corners where pieces of skin meet up. This will add some demension to the layering.

You should have something like this so far.

Now, take a flesh-toned liner or eyeshadow stick and use it to highlight the opposite side of your blended line. This will give you a sharper line and also give the illusion of layered pieces of skin.

Blend out those lines with a small flat brush.

Add some lines with your brown shadow to resemble skin folds on all of the curved areas of your lines, where the staples will go. This will help give the look of the skin being pulled by the staples.

Go in with a liquid liner pen to sharpen and define your lines. I just used a cheap ELF one I found at target for $2.

For the staples, use a silver eyeliner to draw them on. Outline them with the liquid liner pen to make them really stand out.

And that is it! So simple and easy for anyone to do, this look is perfect for a last minute halloween idea. You can even add some fake blood to the skin lines to gore it up some.


Did you guys enjoy this pictorial? Let me know in the comments!
What will you be dressing up as for Halloween? If you recreate any of my Halloween series looks, be sure to tag me on Instagram and Twitter #livforlashes
Have an awesome night everyone!
xoxo
LivforLashes
Follow me on Twitter! @LivforLashes
IG @livforlashes come check out my page, follow and like!
Email: liv_2008@icloud.com